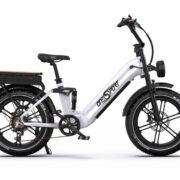
Engwe M20 Electric Bike Setup Revealed!
1000W 48V E-Bike
In this post, we will guide you through the process of unboxing and setting up the Engwe M20 electric bike.
Whether you’re a seasoned bike enthusiast or just getting started, our step-by-step instructions will help you assemble the bike quickly and efficiently.
Unboxing the Bike
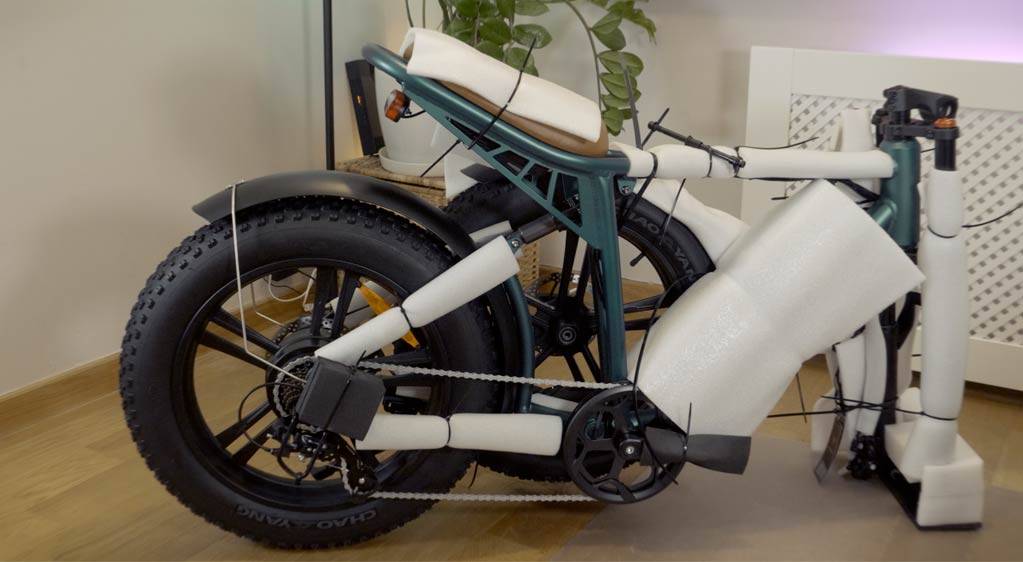
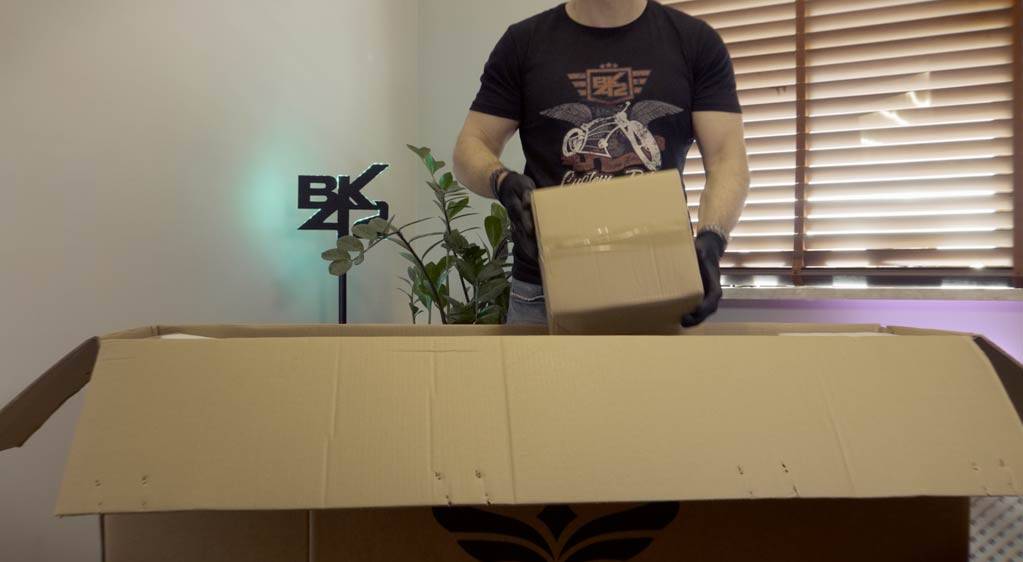
The first step in setting up your Engwe M20 electric bike is to remove it from the box carefully.
Once the bike is out of the box, use caution to undo the cable ties, ensuring that you do not damage any of the components
Assembling the Front Wheel
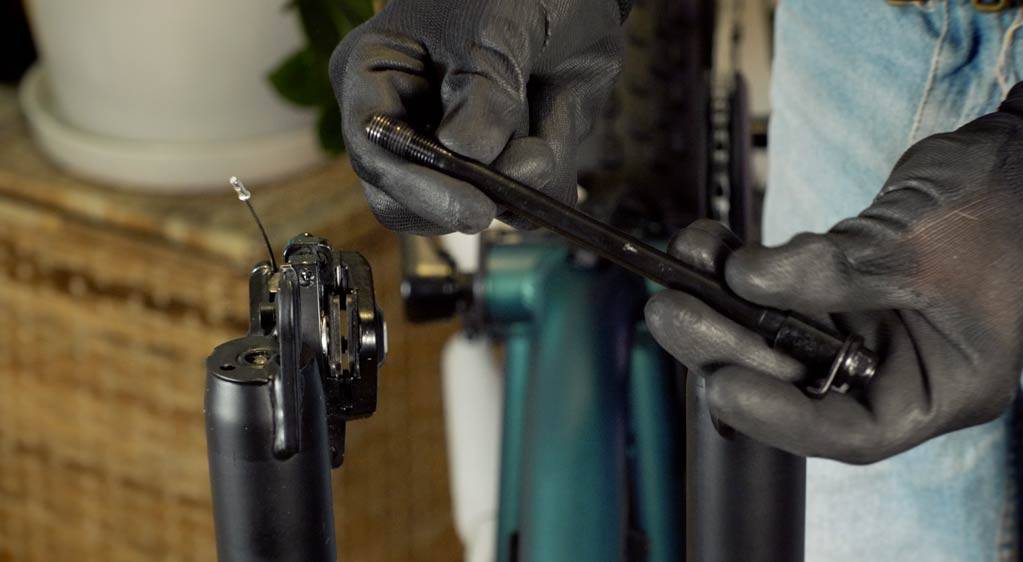
To assemble the front wheel, utilize the 15-wrench to detach the provisional axle from the fork. Prepare the axle and gasket as shown. With the bicycle upside down, attach the wheel into the fork, ensuring that the brake disk aligns with the brake caliper pads. Finally, use the 14mm wrench to tighten the bolt. To ensure the wheel spins freely, make the necessary front brake adjustments as demonstrated.
Assembling the Pedals
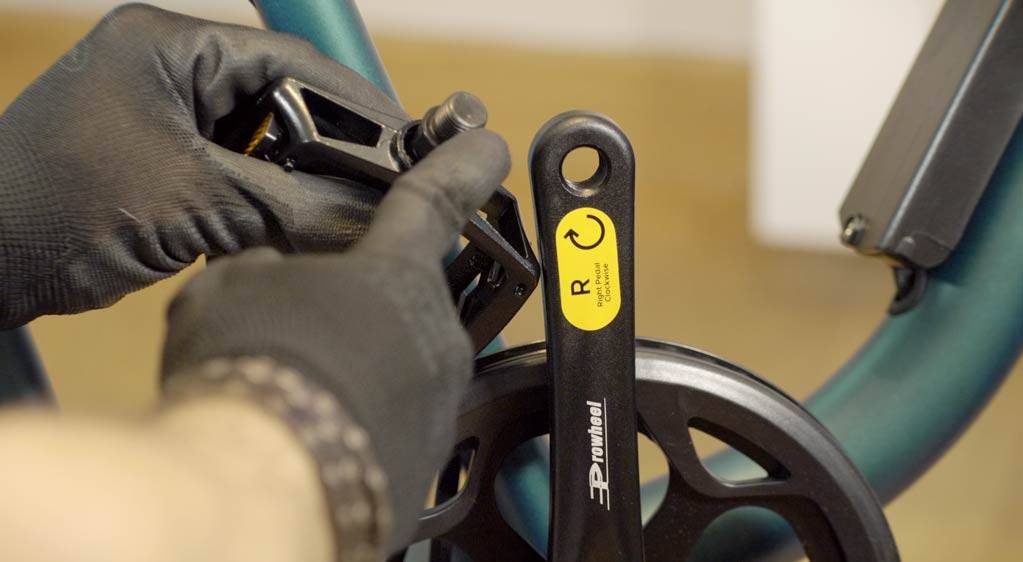
To assemble the pedals, place the left pedal marked with the letter “L” on it. Screw it counterclockwise onto the crank by hand, then tighten it firmly using the 15mm wrench. The pedal marked with the letter “R” should be screwed on in a clockwise direction. Then, make sure to tighten it securely with the same wrench.
Features:
Material:6061 aluminum alloy
Size:20 x 4.0 inches
Motor:48V 1000W(PEAK)/750W (SUSTAIN) brushless motor
13Ah Battery Version: 48V13Ah Lithium-Ion Battery *1
26Ah Batteries Version: 48V 13Ah Lithium-Ion *2; Equalizer*1; Battery mount*1
4.3L Rack Bag*1
Max Speed: 28MPH (45 KPH) (The actual speed will vary due to rider weight and road conditions)
Max Mileage: 34.17 Miles (55KM) at electric mode 1 and 47 Miles (75KM) at PAS mode 1
Torque: 55 N.m
Lights: Dual Font Lights & Back Light
Charging Time: about 5H
Maximum Climbing degree: 10°
Brake: 160mm front & rear mechanical disc brake
Transmission System: Shimano 7 Gears
Assembling the Mudguard
To assemble the mudguard, use a 5mm hex wrench to unscrew the three screws located on the front fork.
Position the mudguard in place, reinsert the screws, and tighten them securely.
Assembling the Headlight
To assemble the headlight, arrange and position the headlights in their intended location.
Secure the support arms firmly using a wrench that fits the 10mm size. Adjust the lights to your desired direction using a 13mm wrench.
Finally, connect the wires and hide them within the headlamp shell.
Fine Adjustments and Utility Bag
Make any necessary adjustments to the brake levers to ensure a comfortable riding position. Move the gear shifter to the desired position.
Attach the utility bag to the top bar and use the Velcro straps to secure it firmly.
Second Battery Installation
To install the second battery, start by removing the main battery to avoid electric damage. Detach the utility bag to reveal the battery support plate.
Use a 10 mm wrench to carefully remove the cushion’s four bolts. Remove the cushion and detach the wire plug from the battery. Install the battery splitter device and connect the cables as shown.
Place the battery support in position and tighten the three screws firmly. Attach the battery in its proper position to see if it fits properly.
Remove the battery again and connect the final plug to the second battery wire. Attach both batteries in their correct positions and turn on the bike to test the second battery installation.
If the bike works as intended, seal the connectors using insulating tape and place the controller and cables inside the case. Put the cushion back in place and securely tighten the four screws.
Lock the batteries in place for a safe ride and turn the bike on. You can switch between the batteries by activating each one or having both active.
Buy the ENGWE M20 safer here:
Unboxing the Engwe M20 Video
YouTube video: https://youtu.be/-RvkVjQBcz8
Watch more e-bike reviews on BK42 Channel.
