Azule Iretta-2 E-Bike Assembly
250W 48V Moped-Style retro electric bike
Today we’ll unbox and set up the new Azule Iretta-2 electric bike.
Open the box, and you’ll see the bike itself and a small box containing the charger, pedals, and all the tools you need.
The easiest way to remove the bike is to open the cardboard side panel.
This version comes with all accessories and must be removed and set aside.
Carefully undo the cable ties
The “Iretta” comes very well protected, remove all the plastic covers.
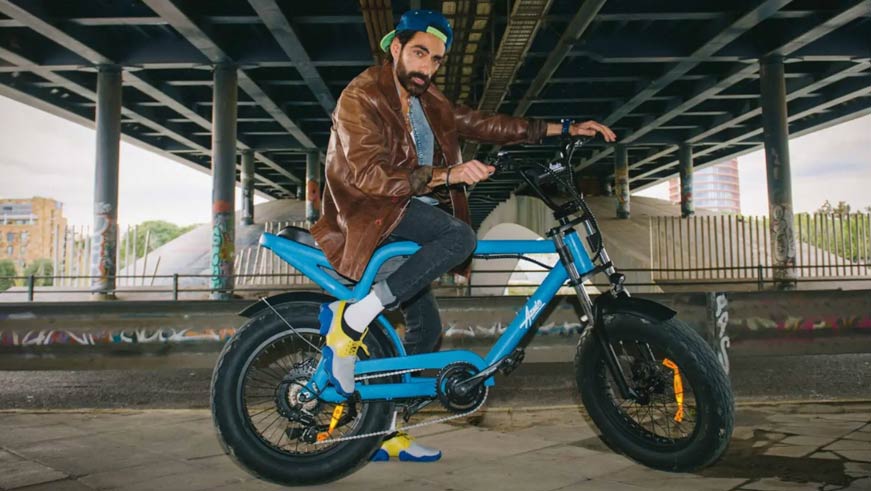
Azule Iretta-2 Specs
Frame: 6061# Aluminum Alloy – Folding Fatbike
Hub motor: 750W high-speed
Battery: 48V 12.8AH – Lithium battery
Display: YL80C LCD
Fork: Front suspension only
Brakes: Mechanical disc brake with motor inhibitors
Derailleur: Shimano Tourney 7 Speeds
Tires: Chao Yang 20″ x 4″ Fat Tyre
Power Assistance Level: 5 levels ( programable )
Suitable Height: 150cm-200cm max load 150kg
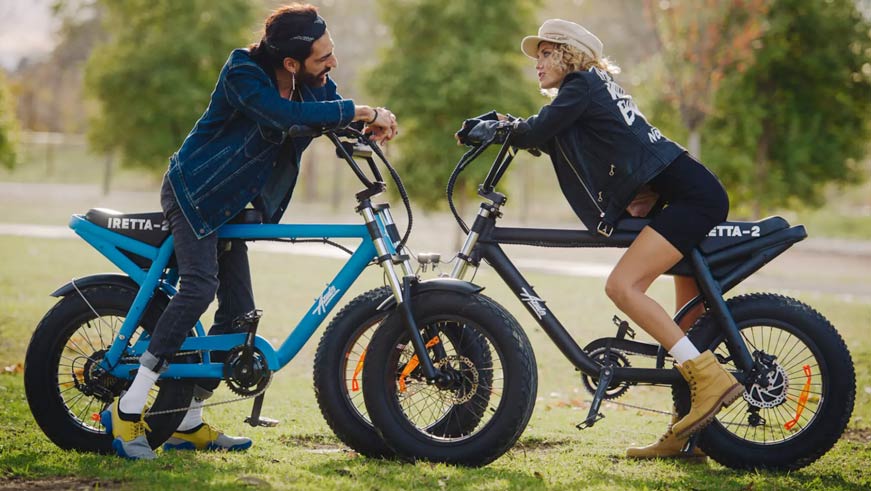
Buy the Azule Iretta-2 here:
Use the code “BK42100” and get 100€ OFF!
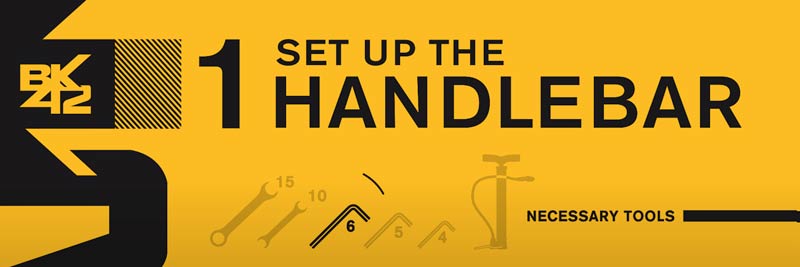
Handlebar
Remove the top cover using the 6mm Hex wrench, place the handlebars, and then reinstall the top cover and the four screws.
Tighten the 4 screws a little.
Make sure the handlebar is in the center, then tighten the screws using the 6mm hex as shown.
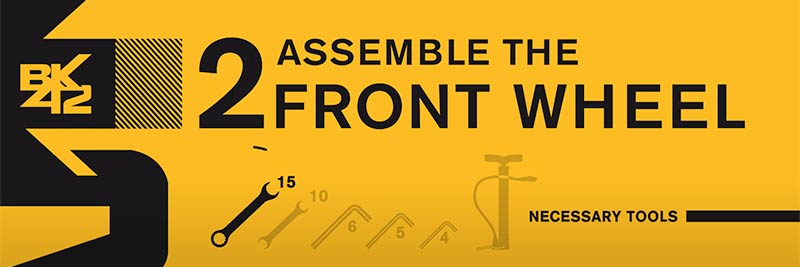
Assemble the front wheel
First, remove the plastic cover from the front wheel and also remove the two-axle nuts.
Remove the plastic insert from the caliper.
Attach the wheel to the fork and keep the disc brake aligned with the caliper.
Tighten firmly the axle nuts with the wrench no.15 to complete the front wheel assembly.
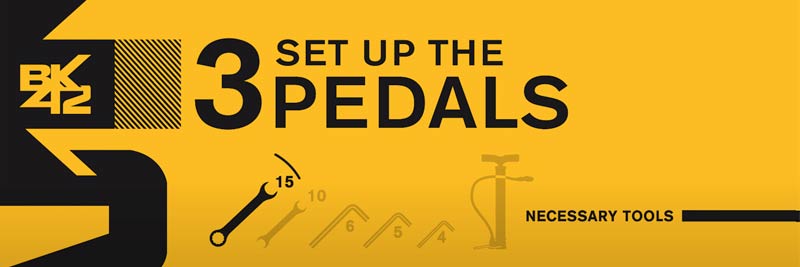
Assemble Pedals
Place the left pedal, make sure to have the one marked with the letter “L” on it.
Screw it counterclockwise onto the crank by hand.
Then tighten firmly using the No.15 wrench
The right pedal has the letter “R” on it and is screwed on clockwise
And again tighten firmly using the No.15 wrench
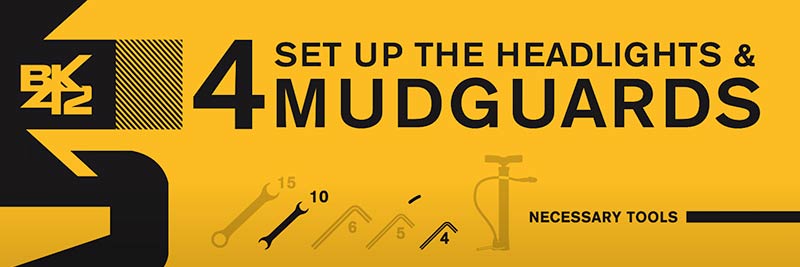
Front Light and fenders
Place the headlights on the mudguard mounting arm and then on the fork.
Secure with the # 10 wrench and the 4mm hex. Connect the cable. that’s it.
To attach the rear mudguard, use the 4mm Hex to secure both arms to the frame.
Remember to place the third screw in the bottom corner of the mudguard.
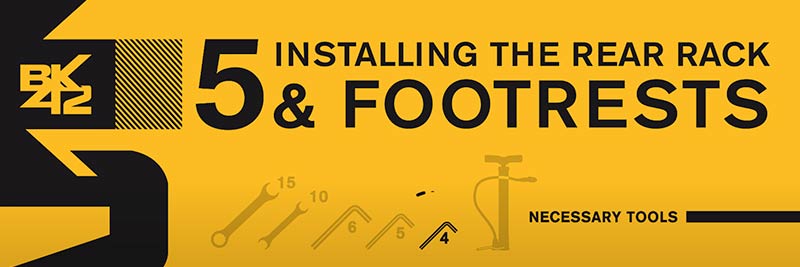
Assemble the rear rack and footrests
The bike is almost complete! Place the rear rack and secure it with the 4mm Hex wrench as shown.
Secure the footrests with the same Hex wrench.
Before riding the Azule, you need to inflate the tires.
To turn the bike “on”, first, turn on the battery ON/OFF switch.
Press and hold the ON/OFF button on the control pad, you will feel a slight vibration and the LCD will light up. That’s it! The bike is ready!
Enjoy the new Azule Iretta-2 moped-style e-bike.
Azule Iretta-2 - VIDEO REVIEW
Watch the complete Unboxing Azule Iretta-2 video here:
Watch more e-bike reviews on BK42 Channel.
YouTube video: https://youtu.be/w2zLk2v_d5I
Azule Iretta-2 - Pictures
Essential accessories for this bike:


