Installing a Bafang Mid Mount motor kit
Custom Chopper Bike (easy)
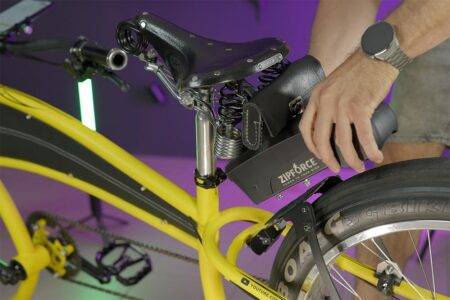
BK42 demonstrates the easy installation of a Bafang mid-mount motor on a Custom Chopper Bike.
Any bike can be converted into a powerful electric bike. Do it yourself at home!
Bafang Mid Mount Motor Kit Video
Specs
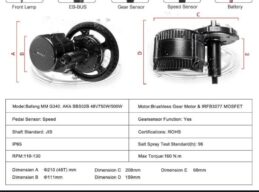
Voltage: 48V
Wattage: 750W
Motor Type: Brushless Gear Motor
Bafang Motor Model: BBS02B
Bafang Motor Position: Mid Crank
Bafang Controller: Integrated Inside the Motor
Display: C961/C965/800S/850C/860C/750C/C18/
500C/SW102/750C Bluetooth
Chainring: 44T/46T/48T/52T
Affiliate Links with Promo Code for Bafang Mid-Drive 750W 48V Kit:
Aliexpress Worldwide
https://bit.ly/3rd6wUG
5USD Off Code:
MHVYLV79H046
Amazon US
https://amzn.to/3f3jXUE
5USD Off Code:
IR2P8IVT
Amazon DE
https://amzn.to/3lDV3MO
5EUR Off Code:
POL4DM2W
Amazon FR
https://amzn.to/3vH720C
5EUR Off Code:
A3YXB4TY
This is my friend Andre’s monster E-Bike, but this bike hasn’t always been like this! We built this bike a couple of years ago in a place much smaller and colder than this garage; it was a huge and exciting challenge for us. But somehow we did it!
A couple of weeks ago, ACCOLMILE BIKES asked me to make a video showing their e-bikes conversion kits, and also, how fast and easy these conversions can be done.
After a quick YouTube search, I found many videos like this, so I decided to step up the challenge and not convert a normal mountain bike, but instead, convert a huge and complex custom bike!
At this point, I couldn’t think of anyone else better than Andre and his Monster Bike to make this conversion.
Here’s the bike before the conversion kit installation.
When we decided to convert the bike, we had some concerns about this kind of e-bike kit.
We had some questions like:
Will the Mid-Drive motor fit in our custom frame?
Do we need to make changes to the frame?
Where can we install the battery? How can we install the battery?
What about the brakes? Do they have motor inhibitor sensors?
How can we hide the cables?
BAFANG 750W CONVERSION KIT
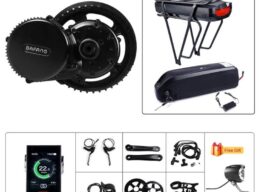
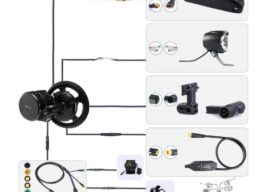
I received the BAFANG 750W Mid-Drive kit with a 48V 17.5 Ampere hour battery pack and all the necessary parts and tools for conversion. It even came with zip ties to convert any bike into a powerful e-bike.
If you’re keen to mount it on a normal mountain bike, for example, it can be installed in less than 30 minutes with just a few tools and no mechanical skills.
By the way, I will add all the tools you need to make the conversion in the description text below with a very special promo code for this kit!
REMOVING THE CRANKSET
Let’s start by removing the left crank arm using a crank arm puller.
Now we can remove the chain wheel on the other side; we’ll need the puller tool once again.
We’ll need a bottom bracket extractor to complete our task! These are very basic steps.
MID-DRIVE MOTOR INSTALLATION
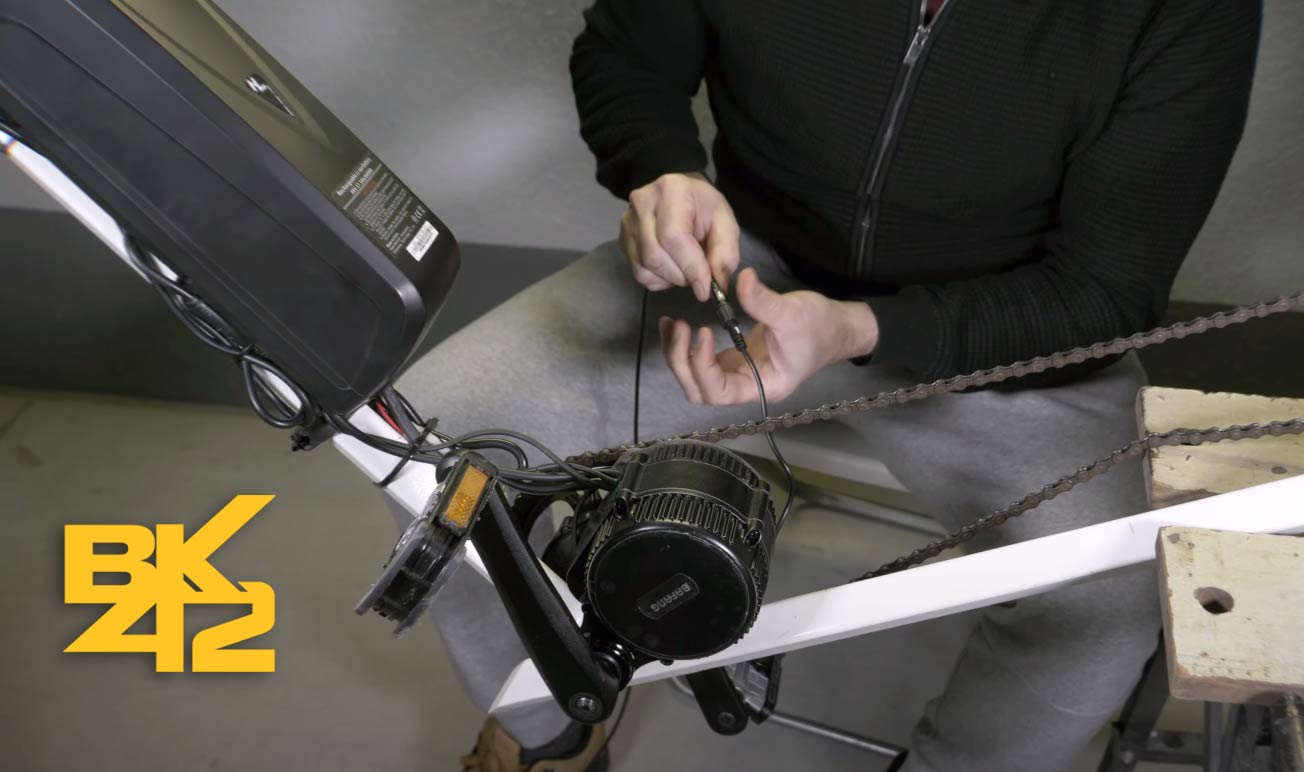
Next, we will have to add the 44-tooth chain wheel to the BAFANG engine. It comes with a chain guard, but we won’t use it. Tighten the five M6 bolts, and the mid-drive is ready for installation.
Push it in place, and secure the motor with the Y-shaped motor mount bracket on the left-hand side of the bike. Install the M6 bolts using a 5mm Allen wrench, then comes the gray locknut with the flat side facing the bike. The indicator arrow should go clockwise. Tighten the locknut with the provided wrench. Now we install and tighten the outer black locknut with the same wrench used before. For the speed sensor, we’ll use a cable extensor; this bike is too long to use the original cable.
To find the right spot to fix the sensor, use the small red led indicator light attached to it. When the sensor detects the magnetic field it will blink the light.
INSTALLING THE BATTERY
First, we need to decide where it should be placed in the frame. The battery installation for normal bikes is very straightforward using the water bottle mount, but we’ll have to create our own mounting support.
We’re doing this conversion in the garage with just a few tools, so the new support has to be simple and efficient. With a hammer we’ll shape the new mounting bracket; it will require some holes and cuts as well.
We will use a plastic mounting ring to provide extra support to the battery plate.
Done! The battery fits perfectly. Without any changes to the frame, and the painting is kept intact!
DISPLAY MOUNT
For a normal bike, this step shouldn’t take more than two minutes to be done, but for this bike, we’ll have to customize it as well. We’ve found a very simple solution using a spare piece of metal. It fits the display well and places it exactly where we want it to be!
Tighten the controller and the thumb-throttle in the handlebar.
The BAFANG Kit comes with two brake lever replacements with motor inhibitors, so when pushed, the motor will be cut off. Replacing the lever is very simple.
Unfortunately, we can’t replace the right brake lever with the new system. After contacting the ACCOLMILE supports team, we were informed about the brake sensors option, which can be installed on hydraulic brakes.
Installing the brake sensor is very simple: add the provided magnet inside the brake lever and adjust to the right location using the break signal shown in the main display.
CABLES
The monster bike is almost ready! Now it’s time to connect and organize the cables around the frame with the provided zip ties. Let’s speed up the video a bit 😉
ACCOLMILE will send this bright LED headlight as a gift for all BK42 followers; the installation is very straightforward and the light power is excellent.
The BAFANG Mid-Drive kit is very easy to install, even in such a complex custom bike, it was very straightforward. The custom supports that we had to create took a lot more time than the installation itself.
We’ll run some tests with the bike and soon; we’ll work to hide the cables inside the frame.
BK42 Best Deals
BK42 Affiliate Links
More videos at BK42 Channel.
